问题描述
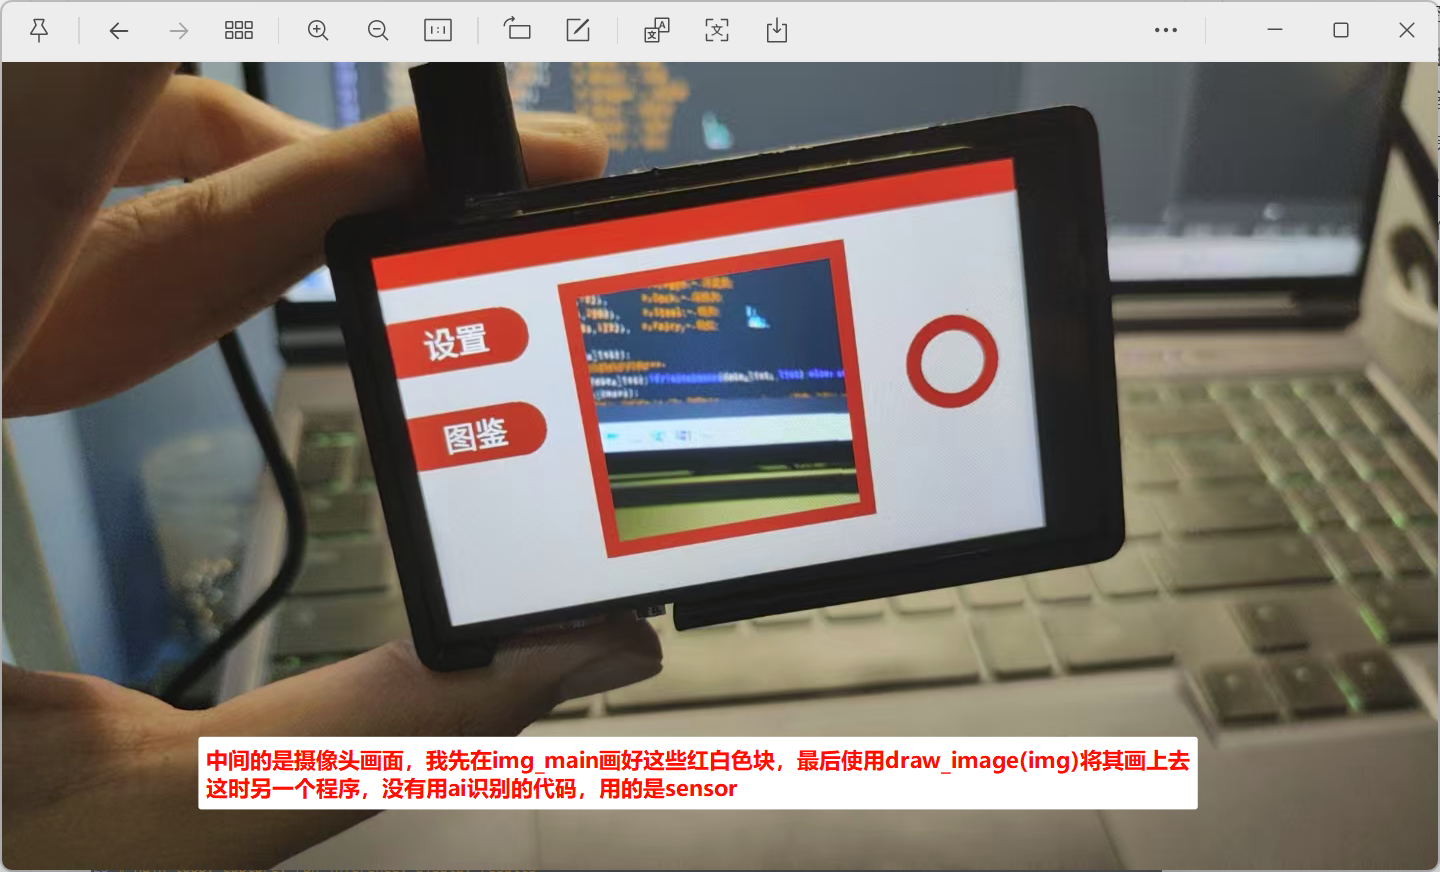
使用模型训练生成的1.3版本的视频识别的代码文件,进行图像分类的任务,我要实现的任务是这样的:使用该代码进行识别图片类型,同时将摄像头获取的图像显示在一个ui界面上,例如下图中间区域显示摄像头的画面,(这个画面是我先创建了应该img_main,再通过sensor获取摄像头图像img 进行裁剪后,将其使用img_main.draw_Image(img),绘制在img_main上的)
我想的是这样:
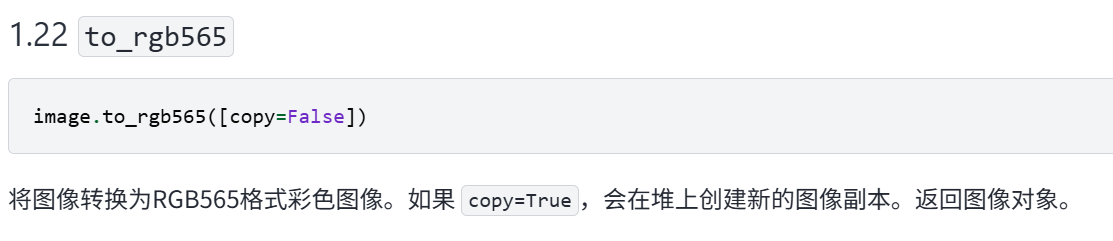
但是没有找到如何将numpy格式的图像转化成rgb565/rgb888的api
代码如下:
import os, gc
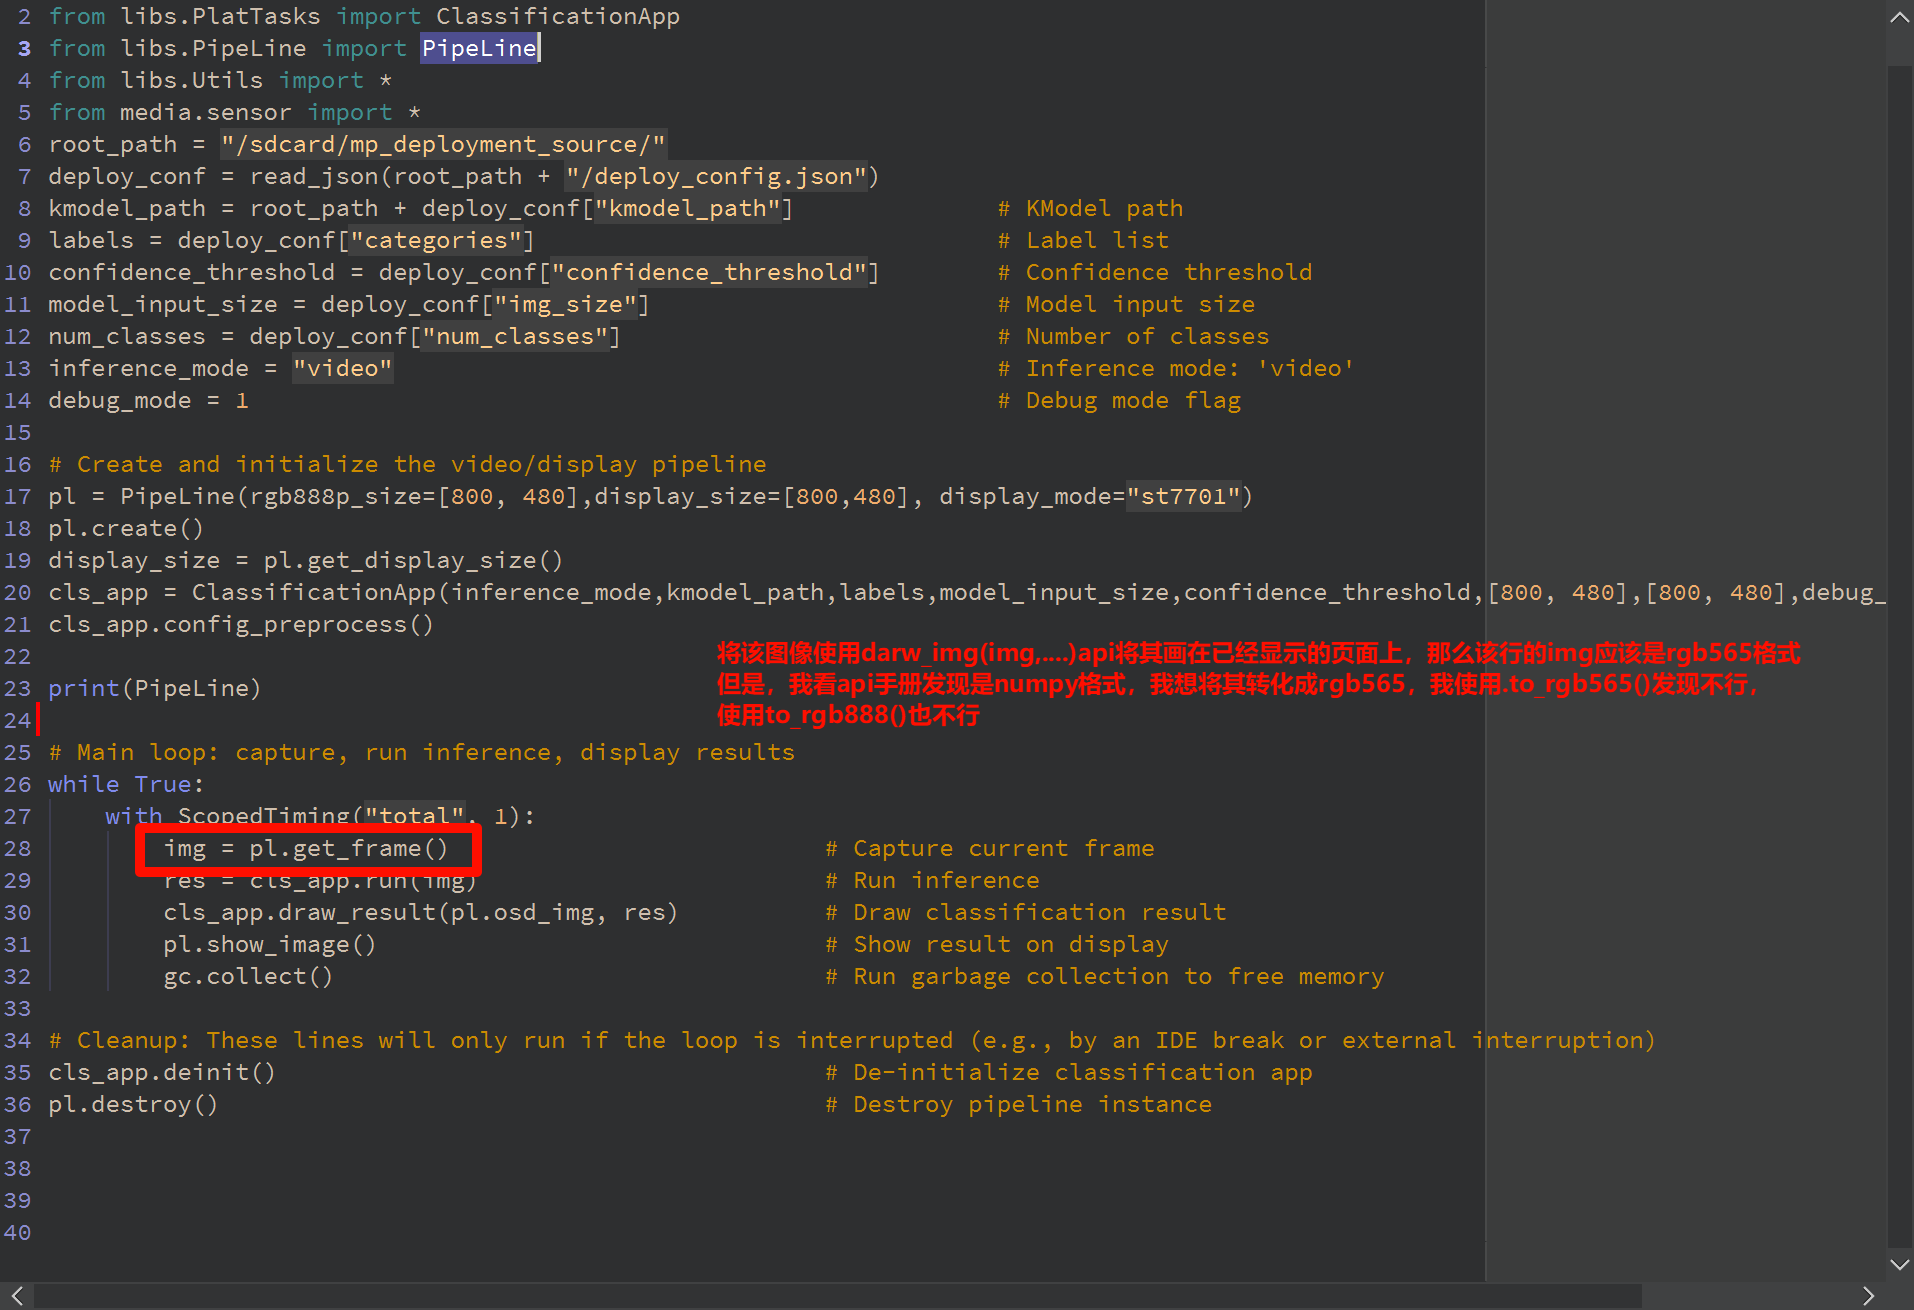
from libs.PlatTasks import ClassificationApp
from libs.PipeLine import PipeLine
from libs.Utils import *
from media.sensor import *
root_path = "/sdcard/mp_deployment_source/"
deploy_conf = read_json(root_path + "/deploy_config.json")
kmodel_path = root_path + deploy_conf["kmodel_path"] # KModel path
labels = deploy_conf["categories"] # Label list
confidence_threshold = deploy_conf["confidence_threshold"] # Confidence threshold
model_input_size = deploy_conf["img_size"] # Model input size
num_classes = deploy_conf["num_classes"] # Number of classes
inference_mode = "video" # Inference mode: 'video'
debug_mode = 1 # Debug mode flag
# Create and initialize the video/display pipeline
pl = PipeLine(rgb888p_size=[800, 480],display_size=[800,480], display_mode="st7701")
pl.create()
display_size = pl.get_display_size()
cls_app = ClassificationApp(inference_mode,kmodel_path,labels,model_input_size,confidence_threshold,[800, 480],[800, 480],debug_mode=debug_mode)
cls_app.config_preprocess()
print(PipeLine)
# Main loop: capture, run inference, display results
while True:
with ScopedTiming("total", 1):
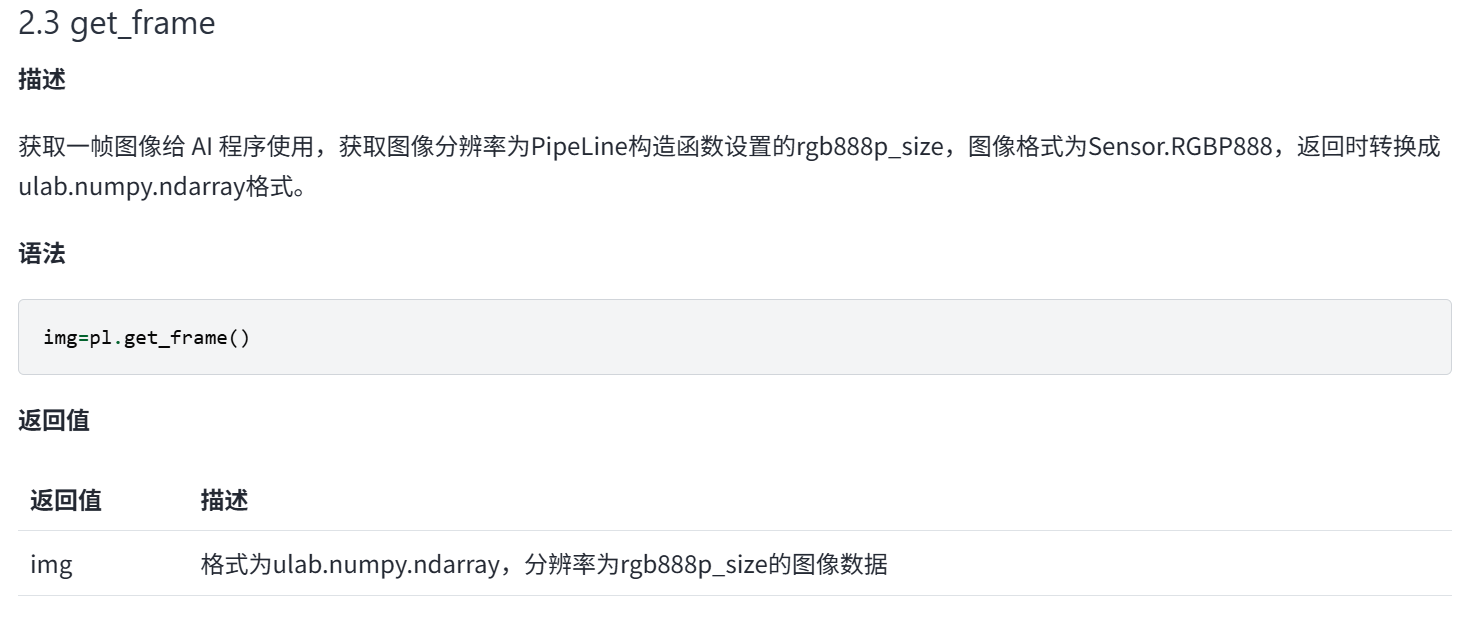
img = pl.get_frame() # Capture current frame
# img2 = img.to_rgb888()
# print(img2)
# img3 = img.to_rgb565()
# print(img3)
res = cls_app.run(img) # Run inference
cls_app.draw_result(pl.osd_img, res) # Draw classification result
pl.show_image() # Show result on display
gc.collect() # Run garbage collection to free memory
# Cleanup: These lines will only run if the loop is interrupted (e.g., by an IDE break or external interruption)
cls_app.deinit() # De-initialize classification app
pl.destroy() # Destroy pipeline instance
文档参考如下:
我知道PipeLine是将摄像头与屏幕输出相关的api封装了,但是找不到如何像使用img = sensor.snapshot(chn=CAM_CHN_ID_0)一样通过PipeLine获取rgb格式的图像的方式

硬件板卡
庐山派
软件版本
CanMV_K230_LCKFB_micropython_v1.4-0-g6cce59c_nncase_v2.9.0.img
